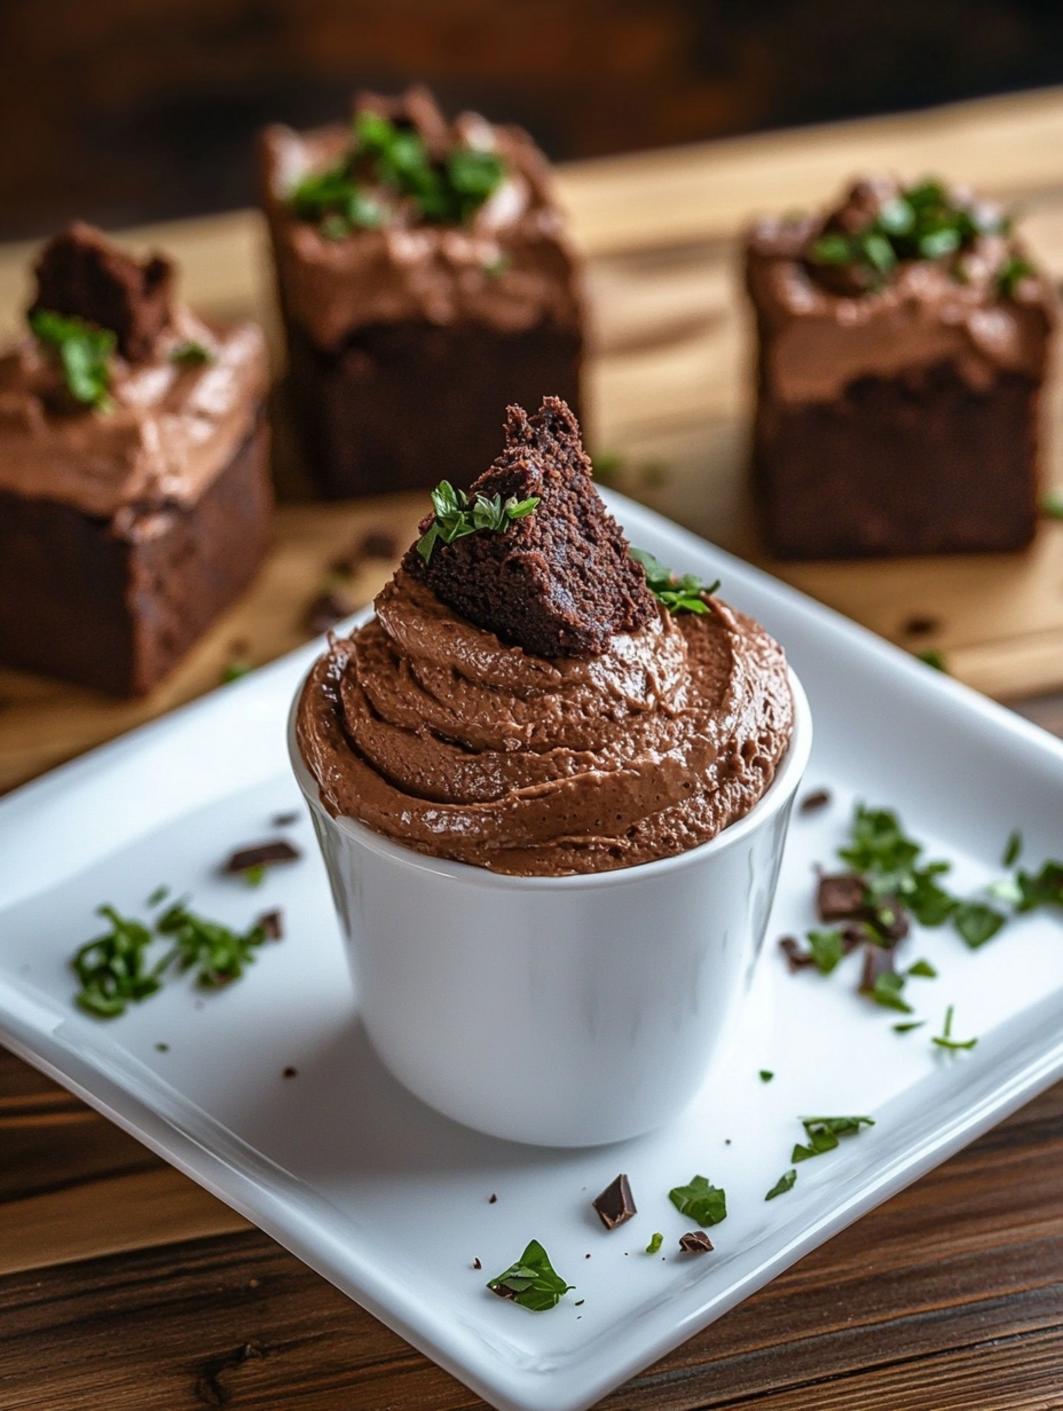
Brownie Mousse Cups are the ultimate decadent dessert
Indulgent Brownies and Mousse in a Cup Recipe
When it comes to dessert, few treats can rival the sheer joy of a well-made brownie and the rich decadence of mousse. Today, I’m excited to share a recipe for Brownies and Mousse in a Cup that combines these two beloved desserts into a single, delightful treat. Perfect for gatherings, parties, or a cozy night in, this dessert cups creation will leave your taste buds tingling and your guests raving. Making brownies and mousse from scratch not only elevates your dessert game but also gives you complete control over the flavors, textures, and presentation. Each spoonful promises a luscious experience, merging the fudgy depth of brownies with the light, airy consistency of mousse. Let’s dive into why this recipe deserves a spot in your dessert repertoire.5 Reasons You’ll Love This Recipe
1. **Versatile Presentation**: Serving your brownies and mousse in individual cups makes for a beautiful presentation and allows each guest to have their own serving. This also eliminates the need for slicing brownies or scooping out mousse.
2. **Easy to Prepare**: This recipe is straightforward and perfect for both beginner and seasoned cooks. You can make brownies and mousse quickly with minimal equipment, saving you time in the kitchen.
3. **Perfect for Any Occasion**: Whether it’s a birthday celebration, holiday gathering, or just a weekday craving, this dessert fits any event. They can be enjoyed by kids and adults alike.
4. **Customizable**: You can easily modify this recipe to incorporate your favorite flavors. Add mint, coffee, or various toppings like nuts, whipped cream, or chocolate shavings to suit your taste.
5. **Satisfying and Filling**: The combination of rich brownies with airy mousse creates a dessert that feels indulgent yet balanced. It’s sure to satisfy anyone’s sweet tooth without being overwhelmingly sweet.
Ingredient Deep-Dive
The secret to making extraordinary brownies and mousse lies in the quality of your ingredients. Here is a breakdown of what you’ll need:– **For the Brownies**:
– **Unsweetened Cocoa Powder**: Essential for that deep chocolate flavor.
– **Butter**: Use unsalted butter for better control over the sweetness. It adds richness and depth.
– **Granulated Sugar & Light Brown Sugar**: A mixture of both gives the brownies a perfect sweetness and enhances the chewy texture.
– **Eggs**: They lend structure and moisture to the brownies.
– **Vanilla Extract**: A must-have to elevate the overall flavor profile.
– **For the Mousse**:
– **Heavy Whipping Cream**: This is the star of the mousse, contributing to its fluffy and luxurious texture.
– **Powdered Sugar**: This sweetens the mousse, making it light and airy.
– **Semi-Sweet Chocolate**: The main flavor of your mousse, use high-quality chocolate for the best taste.
– **Milk or Heavy Cream (optional)**: This can be used to temper the chocolate if it’s too thick.
– **For Layering**:
– **Crushed Oreos or Graham Cracker Crumbs**: These add a delightful crunch between the layers.
– **Chocolate Shavings or Fresh Berries**: Aesthetically pleasing toppings to finish off your dessert. For a fantastic variation, consider pairing this brownie mousse cup with Oreo Dirt Cake. Grab that recipe [here](https://flavorfork.store/oreo-dirt-cake-is-a-classic-indulge-in-this-fun-easy-no-bake-dessert-everyone-loves-perfect-for-parties-get-the-full-recipe-here/).
Step-by-Step Recipe
Here’s how to make Brownies and Mousse in a cup from scratch: ### Step 1: Prepare the Brownies1. Preheat your oven to 350°F (175°C).
2. In a bowl, melt butter and cocoa powder together until smooth. Let it cool slightly.
3. Whisk in both sugars until well-combined, then mix in eggs and vanilla extract.
4. Add flour and a pinch of salt, stirring until just combined. Pour into a greased baking pan.
5. Bake for 20-25 minutes, or until a toothpick comes out with a few moist crumbs. Let cool. ### Step 2: Make the Mousse
1. Melt the semi-sweet chocolate in a microwave or double boiler until smooth. Allow it to cool slightly.
2. In another bowl, whip the heavy cream and powdered sugar until soft peaks form.
3. Gently fold the melted chocolate into the whipped cream until fully incorporated. ### Step 3: Layer in Cups
1. Cut the cooled brownies into small squares.
2. In serving cups, start with a layer of brownie pieces.
3. Add a layer of crushed Oreos or graham crackers for crunch.
4. Follow with a layer of chocolate mousse.
5. Repeat the layers until the cups are filled, finishing with mousse on top. ### Step 4: Chill and Serve
1. Refrigerate the assembled cups for at least 2 hours to set.
2. Before serving, top with chocolate shavings, fresh berries, or additional whipped cream.
Pro Tips for Success
– **Use Quality Ingredients**: The flavor of your brownies and mousse will only be as good as the ingredients you use. Invest in high-quality chocolates and fresh eggs.
– **Don’t Overbake the Brownies**: Aim for fudgy brownies by not letting them bake too long; they should be slightly underbaked for a gooey texture.
– **Cool Ingredients**: Allow the melted chocolate and brownies to cool slightly before mixing to avoid deflating your whipped cream.
– **Chill the Mousse**: Chilling the mousse before layering enhances its texture and makes it easier to work with.
Common Mistakes to Avoid
– **Overmixing the Brownie Batter**: This can lead to tough brownies. Mix just until you can no longer see dry flour.
– **Using Cold Ingredients**: Ensure your eggs and cream are at room temperature for optimal mixing.
– **Not Letting the Brownies Cool**: Skipping the cooling part can lead to a melted mousse.
– **Skipping the Refrigeration**: Allowing the dessert to set gives it the best flavor and texture.
FAQs
**Can I make the brownies ahead of time?** Yes, brownies can be baked a day or two in advance. Just store them in an airtight container until you’re ready to use them.
**How long will the dessert cups last?** The assembled cups can be kept in the refrigerator for up to 3 days. Just be careful of the toppings if you’re adding fresh fruit.
**Can I use other flavors of mousse?** Absolutely! Feel free to experiment with flavors like raspberry, caramel, or even a coffee mousse for a fun twist.
**Is it possible to make this recipe gluten-free?** Yes, substitute all-purpose flour with a gluten-free flour blend, ensuring that all other ingredients are also gluten-free.
**Can I freeze these dessert cups?** While the brownies can be frozen, it’s best to avoid freezing the mousse as the texture may be affected once thawed. It’s best enjoyed fresh! Indulge yourself in this Brownies and Mousse in a Cup recipe, and experience a dessert that’s not just pleasing to the palate but also a feast for the eyes. Treat your family and friends — they will surely appreciate the effort you put into this delightful creation.
Brownies and mousse in a cup
PREP
Real Prep Time
Real Prep Time
COOK
Real Cook Time
Real Cook Time
YIELD
Real Yield
Real Yield
INGREDIENTS
- 1 cup unsweetened cocoa powder
- 1/2 cup unsalted butter
- 1 cup granulated sugar
- 1/2 cup light brown sugar
- 2 large eggs
- 2 teaspoons vanilla extract
- 1 cup all-purpose flour
- 1/2 teaspoon salt
- 1 1/2 cups heavy whipping cream
- 1/2 cup powdered sugar
- 8 ounces semi-sweet chocolate, melted
- Crushed Oreos or graham crackers for layering
- Chocolate shavings or fresh berries for topping
INSTRUCTIONS
- Preheat your oven to 350°F (175°C).
- In a bowl, melt butter and cocoa powder together until smooth. Let it cool slightly.
- Whisk in both sugars until well-combined, then mix in eggs and vanilla extract.
- Add flour and a pinch of salt, stirring until just combined. Pour into a greased baking pan.
- Bake for 20-25 minutes, or until a toothpick comes out with a few moist crumbs. Let cool.
- Melt the semi-sweet chocolate in a microwave or double boiler until smooth. Allow it to cool slightly.
- In another bowl, whip the heavy cream and powdered sugar until soft peaks form.
- Gently fold the melted chocolate into the whipped cream until fully incorporated.
- In serving cups, start with a layer of brownie pieces.
- Add a layer of crushed Oreos or graham crackers for crunch.
- Follow with a layer of chocolate mousse.
- Repeat layers until the cups are filled, finishing with mousse on top.
- Refrigerate the assembled cups for at least 2 hours to set.
- Before serving, top with chocolate shavings, fresh berries, or additional whipped cream.