Chocolate Peanut Butter
Indulge in Chocolate Peanut Butter Brownies
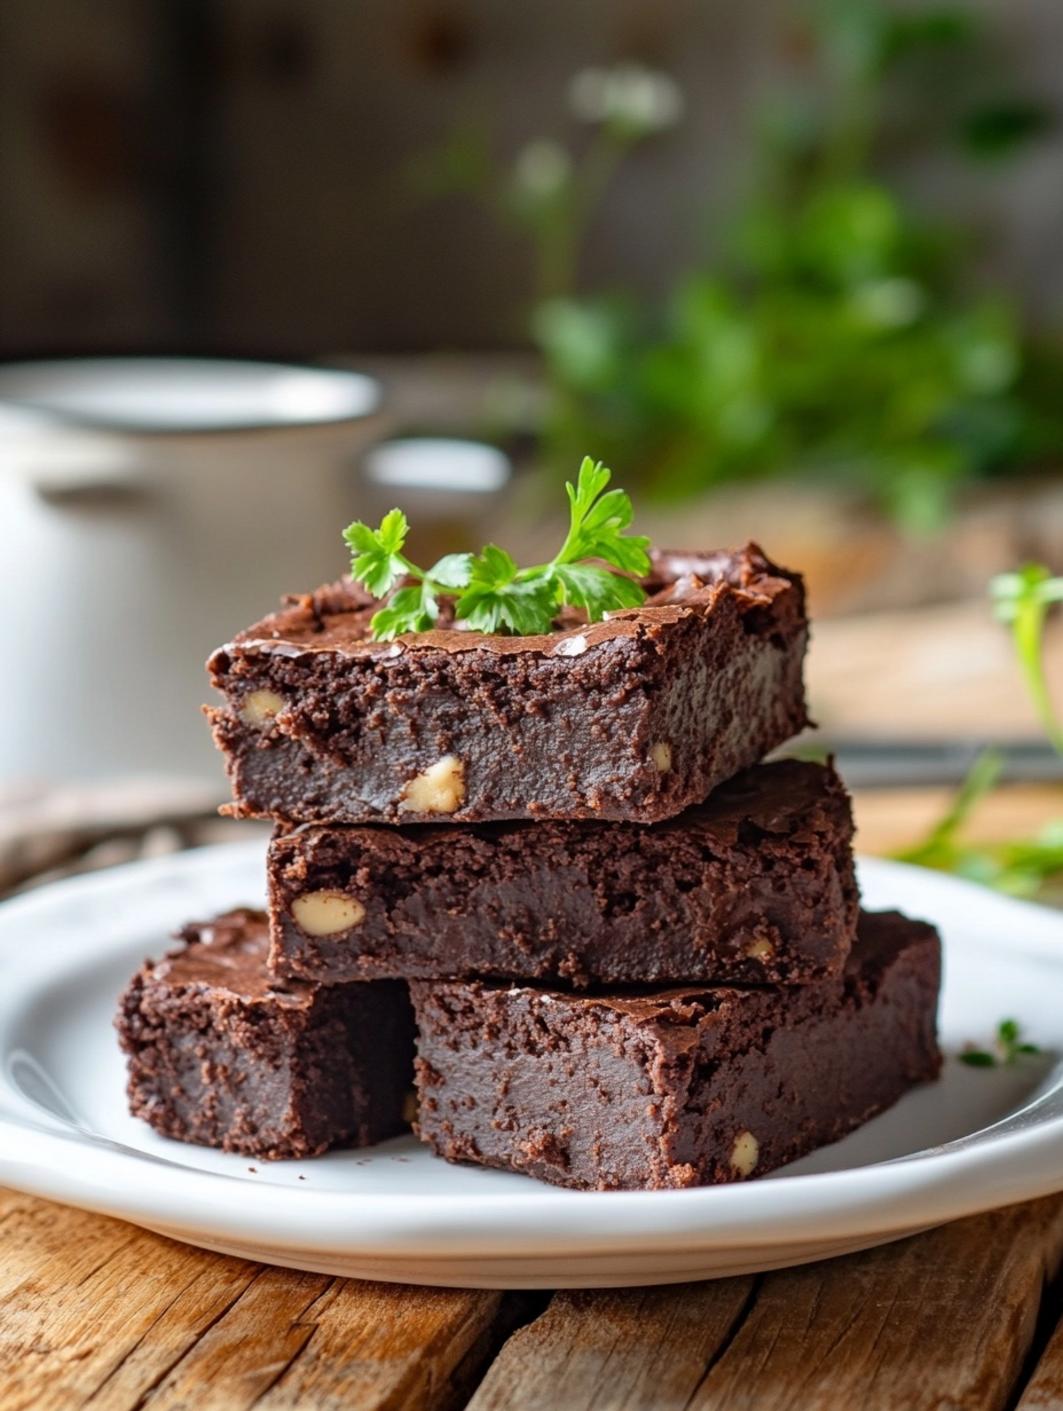
When it comes to sweet indulgence, chocolate and peanut butter are a match made in culinary heaven. This delightful duo has taken the dessert world by storm, and our Chocolate Peanut Butter Brownies are a perfect testament to that. Rich, fudgy, and boasting the irresistible swirl of creamy peanut butter, these brownies are more than just a treat. They are an experience. Whether you’re hosting a gathering or simply treating yourself, this recipe promises to deliver smiles all around. In this post, we’ll explore not just how to make these brownies, but why they’re a must-try in your kitchen. Let’s dive in!5 Reasons You Need to Make These Brownies
1. **Decadent Flavor Combination**: The combination of rich chocolate and creamy peanut butter creates a luscious flavor profile that tantalizes taste buds. Each bite is a perfect balance of sweetness and a nutty hint that just makes you want more.
2. **Fudge-Like Texture**: These brownies have a moist, dense texture that feels indulgent but is incredibly easy to achieve. With just the right amount of baking time, you can achieve that perfect chewy brownie consistency.
3. **Easy and Quick**: If you thought making delightful brownies was a time-consuming task, think again. With simple, easy-to-follow steps, you can whip these up in under an hour. Perfect for last-minute cravings!
4. **Customizable**: Not only can you easily adjust the amount of peanut butter to suit your taste, but you can also throw in chocolate chips or nuts for extra crunch. This recipe is a blank canvas waiting for your personal touch.
5. **Perfect for Any Occasion**: Whether you’re celebrating a special occasion, bringing a dish to a potluck, or simply craving a sweet treat, these brownies fit the bill. They are sure to impress friends and family alike.
Ingredient Deep-Dive
To create the best Chocolate Peanut Butter Brownies, we need just a handful of ingredients. Knowing the role of each element will also help you make substitutions if needed.1. **Unsweetened Cocoa Powder**: This adds that deep chocolate flavor without unnecessary sweetness. Cocoa powder is a key player in our brownie base.
2. **All-Purpose Flour**: This provides structure to your brownies. It ensures that they hold up when you cut them into squares but remain soft and fudgy.
3. **Granulated Sugar and Brown Sugar**: The combination of these two sugars creates complexity in sweetness and moisture. Brown sugar also enhances the chewy texture.
4. **Butter**: Use unsalted butter for this recipe to control the sodium level. The butter enriches the brownies, contributing to their delectable fudginess.
5. **Eggs**: Eggs act as binders, helping to hold the ingredients together while adding moisture and richness.
6. **Vanilla Extract**: A splash of vanilla enhances the overall flavor, adding depth to the chocolate and peanut butter.
7. **Creamy Peanut Butter**: This is where the magic happens. A generous amount of peanut butter creates a beautiful swirl and adds a nutty flavor that complements the chocolate perfectly.
8. **Salt**: A pinch of salt brightens the flavors and balances the sweetness, making each bite irresistible.
Step-by-Step Instructions
Creating these Chocolate Peanut Butter Brownies is simple. Follow these steps to bake your way to brownie bliss.**Step 1: Preheat Your Oven** Set your oven to 350°F (175°C) to ensure it’s hot by the time your batter is ready.
**Step 2: Prepare the Baking Dish** Grease a 9×9-inch baking dish or line it with parchment paper for easy removal once the brownies are baked.
**Step 3: Mix the Dry Ingredients** In a medium bowl, whisk together the cocoa powder, flour, and salt. This helps to evenly distribute the dry ingredients.
**Step 4: Cream the Butter and Sugars** In a large bowl, melt the butter. Once melted, mix in both the granulated and brown sugars until well combined and creamy.
**Step 5: Add Eggs and Vanilla** Add the eggs, one at a time, mixing after each addition. Follow this with the vanilla extract. Mix until the mixture is smooth.
**Step 6: Combine Dry and Wet Ingredients** Gradually add the dry ingredients to the wet mixture, stirring until just combined. Avoid overmixing to keep the brownies fudgy.
**Step 7: Swirl in the Peanut Butter** Scoop half of the brownie batter into the prepared dish and smooth it out evenly. Warm the peanut butter slightly in the microwave to make it easier to swirl, then dollop it over the brownie batter. Spoon the remaining brownie batter on top and use a knife to swirl it together gently, creating that beautiful peanut butter swirl effect.
**Step 8: Bake** Bake for 25-30 minutes, or until a toothpick inserted in the center comes out with a few moist crumbs.
**Step 9: Cool and Cut** Let the brownies cool in the pan for about 10-15 minutes, then transfer them to a wire rack to cool completely before cutting into squares.
Pro Tips for Perfect Brownies
– **Use Quality Chocolate and Peanut Butter**: Go for high-quality cocoa powder and natural peanut butter for the best flavor.
– **Do Not Overmix**: Overmixing the batter can lead to dense brownies. Mix just until combined.
– **Check Doneness**: The brownies will continue to cook slightly after being removed from the oven. Aim for a slightly underbaked state for fudgy brownies.
– **Let Them Cool**: Patience is key. Allow your brownies to cool fully before slicing to achieve clean cuts and prevent crumbling.
– **Storage**: Store the brownies in an airtight container at room temperature for up to a week. You can also freeze them for longer storage.
Common Mistakes to Avoid
– **Incorrect Oven Temperature**: Always preheat your oven and ensure it’s calibrated; an incorrect temperature can lead to uneven baking.
– **Not Measuring Ingredients Accurately**: Use a kitchen scale for precision. Baking is a science, and every ingredient matters.
– **Skipping the Cooling Time**: Cutting brownies too soon can lead to a messy situation. Give them ample cooling time for the best texture.
– **Using Cold Ingredients**: Room temperature eggs and melted butter incorporate better into the batter, leading to better texture and rise.
– **Using the Wrong Pan**: A non-stick pan is ideal, but if you use glass or metal, adjust baking time accordingly. Glass pans can retain heat longer.
FAQs
**Q: Can I use crunchy peanut butter instead of creamy?** A: Absolutely! Crunchy peanut butter will add a nice texture to your brownies and still provide that delicious peanut flavor.
**Q: What can I substitute for sugar?** A: You can use coconut sugar or a sugar substitute like Stevia, but be aware that it may alter the texture and taste slightly.
**Q: How can I make these brownies gluten-free?** A: Substitute all-purpose flour with gluten-free flour blends that work for baking.
**Q: How do I prevent my brownies from drying out?** A: Ensure you monitor the baking time closely and avoid overbaking. A few moist crumbs on the toothpick indicate they’re done.
**Q: Can I make these brownies ahead of time?** A: Yes! You can make them a day in advance and store them in an airtight container. They often taste even better the next day.
Chocolate Peanut Butter Brownies
PREP
10 minutes
10 minutes
COOK
25-30 minutes
25-30 minutes
YIELD
16 brownies
16 brownies
INGREDIENTS
- 1/2 cup unsweetened cocoa powder
- 1 cup all-purpose flour
- 1/2 cup granulated sugar
- 1/2 cup brown sugar
- 1/2 cup unsalted butter, melted
- 2 large eggs
- 1 teaspoon vanilla extract
- 1/2 cup creamy peanut butter
- 1/4 teaspoon salt
INSTRUCTIONS
- Preheat the oven to 350°F (175°C) and prepare a 9×9-inch baking dish.
- In a medium bowl, whisk together the cocoa powder, flour, and salt.
- Melt the butter and mix in both sugars until creamy.
- Add eggs one at a time, followed by the vanilla, mixing to combine.
- Gradually add the dry ingredients to the wet mixture until just combined.
- Spread half the batter in the prepared dish, then swirl the warmed peanut butter on top. Add the remaining batter and swirl gently.
- Bake for 25-30 minutes, or until a toothpick inserted in the center comes out with a few moist crumbs.
- Cool in the pan, then transfer to a wire rack to cool completely before slicing.