Chocolate Lava Cakes with a gooey molten center are the
“`html
1. **Immediate Gratification**: Nothing beats the satisfaction of breaking into a warm cake and watching the molten chocolate ooze out. It’s the perfect blend of texture and flavor that elicits joy in every spoonful.
2. **Customizable**: You can enrich the basic recipe by adding your favorite flavors — think coffee, orange zest, or a sprinkling of sea salt. These additions can enhance the chocolate profile and create a unique dessert tailored to your preferences.
3. **Impressive Presentation**: Sometimes, it’s about the presentation. When served with a scoop of vanilla ice cream or a dusting of powdered sugar, these cakes can wow your guests and elevate your dessert game.
4. **Perfect for Any Skill Level**: Regardless of whether you are a newbie or a seasoned baker, Chocolate Lava Cakes are surprisingly easy to whip up. Even a simple mistake won’t ruin them; they are forgiving and still taste divine.
5. **Quick**: The best part about Chocolate Lava Cakes is their speed. With a preparation and baking time of under 30 minutes, you can satisfy your chocolate cravings in no time.
– **Semi-Sweet Chocolate**: The heart of this recipe, it provides the rich, decadent flavor and the signature molten center. Using high-quality chocolate will yield the best result.
– **Unsalted Butter**: This helps achieve that luscious cake texture while also enhancing the richness of the chocolate.
– **Sugar**: Granulated sugar balances the bitterness of the chocolate, creating a harmony that pleases the palate.
– **Eggs**: Essential for structure, eggs contribute to the cake’s lightness. You’ll need both whole eggs and additional yolks to create the ideal balance of density and fluffiness.
– **All-Purpose Flour**: Just a small amount of flour is needed to help the cakes hold their shape without overpowering the delicate texture.
– **Vanilla Extract**: A splash of vanilla enhances the chocolate flavor and adds a delightful aroma.
– **Salt**: Don’t skip this ingredient! A pinch of salt amplifies all the other flavors and really ties the dessert together.
1. **Preheat and Prepare**: Preheat your oven to 425°F (220°C). Grease four ramekins with butter and dust with cocoa powder to prevent sticking.
2. **Melt Chocolate and Butter**: In a heatproof bowl, combine the semi-sweet chocolate and butter. Melt them together by setting the bowl over a pot of simmering water (double boiler method). Stir until smooth and combined.
3. **Whisk Eggs and Sugar**: In a separate mixing bowl, whisk together whole eggs, egg yolks, and sugar until the mixture is pale and slightly thickened.
4. **Combine Mixtures**: Pour the melted chocolate mixture into the egg mixture. Stir gently to combine without deflating the mixture.
5. **Add Flour**: Sift in the all-purpose flour and fold until just combined. Be careful not to overmix.
6. **Portion and Bake**: Divide the batter evenly among the prepared ramekins. Place them on a baking sheet for easy handling. Bake for approximately 12-14 minutes. The edges should appear set, but the center should still jiggle slightly.
7. **Cool Briefly**: Remove the cakes from the oven and let them cool for about 1 minute. This allows them to firm up just enough for easy removal.
8. **Invert and Serve**: Carefully run a knife around the edges of each ramekin to loosen. Invert onto plates, allowing the lava center to spill out. Serve warm with vanilla ice cream or a dusting of powdered sugar.
– **Choose Quality Chocolate**: The quality of chocolate directly affects the flavor. Opt for chocolate with a cacao percentage between 60-70% for the best results.
– **Do Not Overbake**: Keep a close eye while baking. Overbaking will result in a cake that’s more like a regular chocolate cake than a molten delight.
– **Room Temperature Ingredients**: Ensuring that your eggs and melted chocolate mixtures are at room temperature will help with proper incorporation and texture.
– **Chill the Batter**: If you want to prepare the cakes ahead of time, you can chill the batter in the ramekins for up to an hour before baking. Just ensure to add a couple of extra minutes to the baking time.
– **Experiment with Flavors**: Don’t hesitate to play with flavors. A pinch of espresso powder, a splash of rum, or flavored extracts can transform the basic recipe into something unique.
1. **Not Prepping Ramekins Properly**: Ensure to grease and dust your ramekins correctly. Otherwise, your cakes may stick, resulting in a beautiful dessert ruined.
2. **Too Much or Too Little Flour**: Measuring flour accurately is crucial. Too much flour can lead to a dense cake, while too little can cause it to collapse.
3. **Ignoring Cooling Times**: Don’t rush the cooling process after baking. Give your cakes a moment to settle, or you risk them collapsing during the removal.
4. **Skipping the Salt**: Salt is a crucial ingredient that enhances flavors. Don’t skip it, as it makes a significant difference in the overall taste.
5. **Overmixing**: Mixing too much after adding flour can lead to a tougher cake. Fold gently and just until combined.
**Can I make Chocolate Lava Cakes ahead of time?** Yes, you can prepare the batter in advance, store it in the ramekins, and bake just before serving. You may need to add a couple of extra minutes to the baking time if the batter is cold.
**What should I serve with these cakes?** Chocolate Lava Cakes pairs beautifully with vanilla ice cream, whipped cream, or fresh berries. You can also garnish with mint leaves for a touch of elegance.
**What’s the ideal texture for a perfectly baked Lava Cake?** The edges should be set while the center remains soft and jiggly. When you cut into it, the molten chocolate should flow out effortlessly.
**Can I substitute flour for gluten-free options?** Absolutely! You can use a gluten-free flour blend as an alternative. Ensure to check that the proportions are correct according to the flour blend you choose.
**What’s the best way to store leftovers?** If you have leftovers, store them in the refrigerator in an airtight container. Reheat them gently in the microwave before serving, ensuring you do not cook them further. Explore other delightful recipes like this to complete your culinary adventures, such as healthy breakfast meals listed [here](https://flavorfork.store/healthy-breakfast-meals-2/). For more kitchen tools and resources, check out [this affiliate link](https://aliexpi.com/D4C).
“`
Indulgent Chocolate Lava Cakes
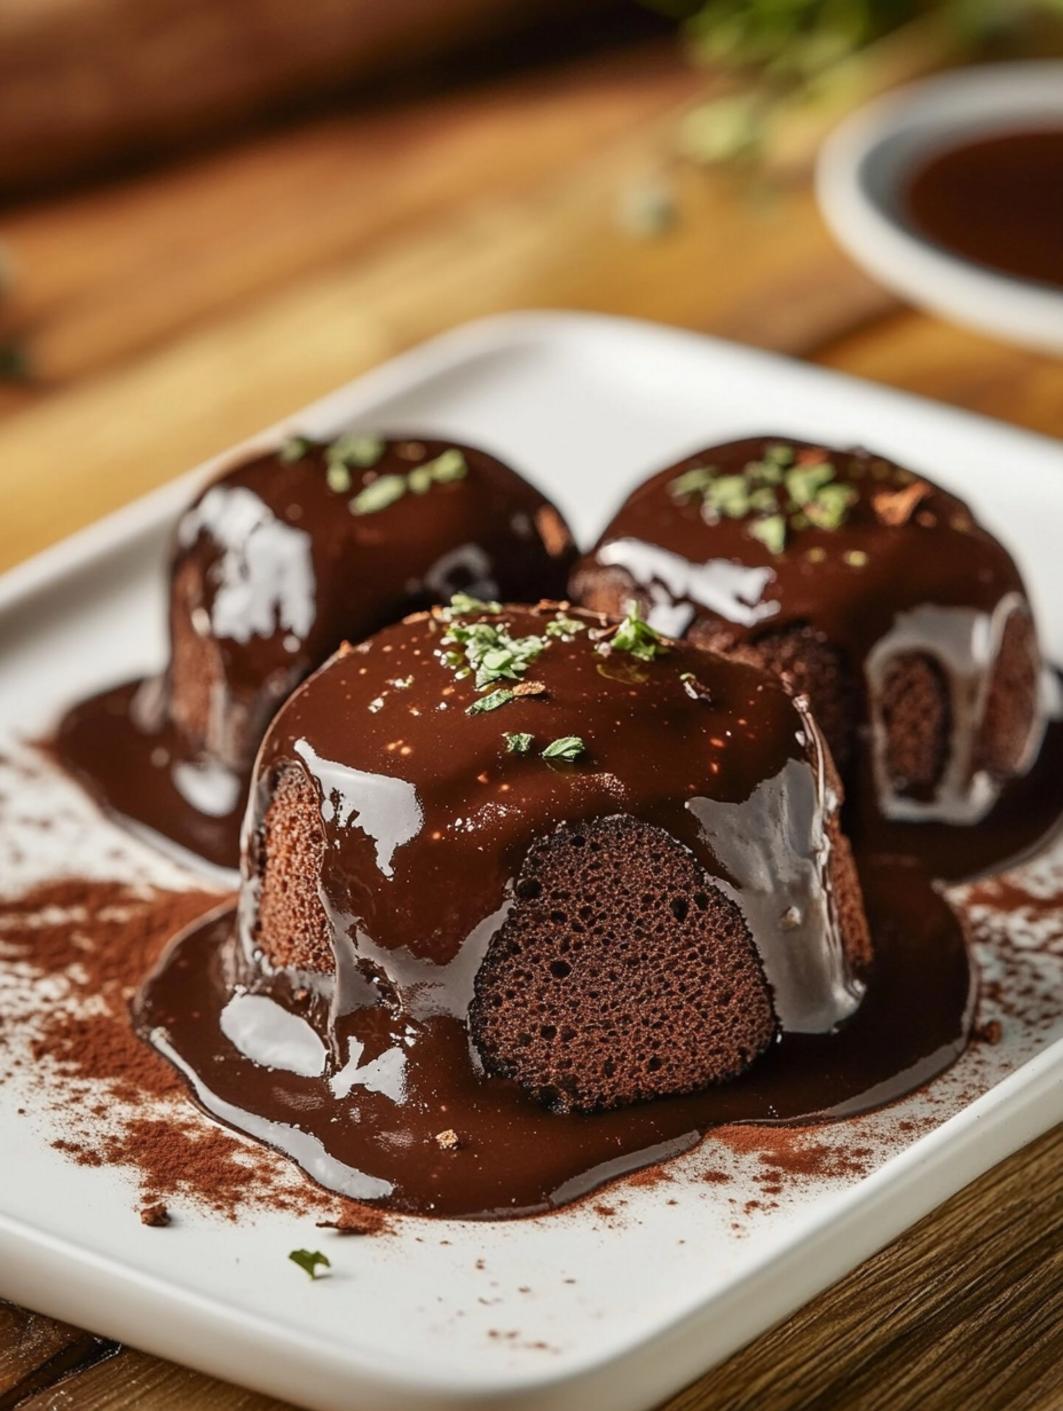
Chocolate Lava Cakes, often referred to as molten chocolate desserts, are the epitome of dessert decadence. With their warm chocolate center that flows out like lava when cut, these rich treats can transform any meal into a celebration. Whether it’s a special occasion, a romantic dinner, or even just a casual weeknight treat, there’s something magical about indulging in these delightful cakes. In this guide, we will delve into the world of Chocolate Lava Cakes, sharing how to create this impressive dessert at home. Along the way, you will learn not only the ingredients and precise techniques but also the essential tips that can elevate your baking from good to extraordinary.5 Reasons to Love Chocolate Lava Cakes
1. **Immediate Gratification**: Nothing beats the satisfaction of breaking into a warm cake and watching the molten chocolate ooze out. It’s the perfect blend of texture and flavor that elicits joy in every spoonful.
2. **Customizable**: You can enrich the basic recipe by adding your favorite flavors — think coffee, orange zest, or a sprinkling of sea salt. These additions can enhance the chocolate profile and create a unique dessert tailored to your preferences.
3. **Impressive Presentation**: Sometimes, it’s about the presentation. When served with a scoop of vanilla ice cream or a dusting of powdered sugar, these cakes can wow your guests and elevate your dessert game.
4. **Perfect for Any Skill Level**: Regardless of whether you are a newbie or a seasoned baker, Chocolate Lava Cakes are surprisingly easy to whip up. Even a simple mistake won’t ruin them; they are forgiving and still taste divine.
5. **Quick**: The best part about Chocolate Lava Cakes is their speed. With a preparation and baking time of under 30 minutes, you can satisfy your chocolate cravings in no time.
Ingredient Deep-Dive
Understanding the individual components of your Chocolate Lava Cake is crucial to achieving the perfect dessert. Let’s take a closer look at each ingredient.– **Semi-Sweet Chocolate**: The heart of this recipe, it provides the rich, decadent flavor and the signature molten center. Using high-quality chocolate will yield the best result.
– **Unsalted Butter**: This helps achieve that luscious cake texture while also enhancing the richness of the chocolate.
– **Sugar**: Granulated sugar balances the bitterness of the chocolate, creating a harmony that pleases the palate.
– **Eggs**: Essential for structure, eggs contribute to the cake’s lightness. You’ll need both whole eggs and additional yolks to create the ideal balance of density and fluffiness.
– **All-Purpose Flour**: Just a small amount of flour is needed to help the cakes hold their shape without overpowering the delicate texture.
– **Vanilla Extract**: A splash of vanilla enhances the chocolate flavor and adds a delightful aroma.
– **Salt**: Don’t skip this ingredient! A pinch of salt amplifies all the other flavors and really ties the dessert together.
Step-by-Step Instructions
Now that we understand the ingredients, let’s dive into the step-by-step process to create these heavenly Chocolate Lava Cakes.1. **Preheat and Prepare**: Preheat your oven to 425°F (220°C). Grease four ramekins with butter and dust with cocoa powder to prevent sticking.
2. **Melt Chocolate and Butter**: In a heatproof bowl, combine the semi-sweet chocolate and butter. Melt them together by setting the bowl over a pot of simmering water (double boiler method). Stir until smooth and combined.
3. **Whisk Eggs and Sugar**: In a separate mixing bowl, whisk together whole eggs, egg yolks, and sugar until the mixture is pale and slightly thickened.
4. **Combine Mixtures**: Pour the melted chocolate mixture into the egg mixture. Stir gently to combine without deflating the mixture.
5. **Add Flour**: Sift in the all-purpose flour and fold until just combined. Be careful not to overmix.
6. **Portion and Bake**: Divide the batter evenly among the prepared ramekins. Place them on a baking sheet for easy handling. Bake for approximately 12-14 minutes. The edges should appear set, but the center should still jiggle slightly.
7. **Cool Briefly**: Remove the cakes from the oven and let them cool for about 1 minute. This allows them to firm up just enough for easy removal.
8. **Invert and Serve**: Carefully run a knife around the edges of each ramekin to loosen. Invert onto plates, allowing the lava center to spill out. Serve warm with vanilla ice cream or a dusting of powdered sugar.
Pro Tips for the Perfect Lava Cake
– **Choose Quality Chocolate**: The quality of chocolate directly affects the flavor. Opt for chocolate with a cacao percentage between 60-70% for the best results.
– **Do Not Overbake**: Keep a close eye while baking. Overbaking will result in a cake that’s more like a regular chocolate cake than a molten delight.
– **Room Temperature Ingredients**: Ensuring that your eggs and melted chocolate mixtures are at room temperature will help with proper incorporation and texture.
– **Chill the Batter**: If you want to prepare the cakes ahead of time, you can chill the batter in the ramekins for up to an hour before baking. Just ensure to add a couple of extra minutes to the baking time.
– **Experiment with Flavors**: Don’t hesitate to play with flavors. A pinch of espresso powder, a splash of rum, or flavored extracts can transform the basic recipe into something unique.
Common Mistakes to Avoid
While making Chocolate Lava Cakes is straightforward, there are pitfalls that can affect the final product. Here are a few common mistakes to watch out for:1. **Not Prepping Ramekins Properly**: Ensure to grease and dust your ramekins correctly. Otherwise, your cakes may stick, resulting in a beautiful dessert ruined.
2. **Too Much or Too Little Flour**: Measuring flour accurately is crucial. Too much flour can lead to a dense cake, while too little can cause it to collapse.
3. **Ignoring Cooling Times**: Don’t rush the cooling process after baking. Give your cakes a moment to settle, or you risk them collapsing during the removal.
4. **Skipping the Salt**: Salt is a crucial ingredient that enhances flavors. Don’t skip it, as it makes a significant difference in the overall taste.
5. **Overmixing**: Mixing too much after adding flour can lead to a tougher cake. Fold gently and just until combined.
FAQs
**Can I make Chocolate Lava Cakes ahead of time?** Yes, you can prepare the batter in advance, store it in the ramekins, and bake just before serving. You may need to add a couple of extra minutes to the baking time if the batter is cold.
**What should I serve with these cakes?** Chocolate Lava Cakes pairs beautifully with vanilla ice cream, whipped cream, or fresh berries. You can also garnish with mint leaves for a touch of elegance.
**What’s the ideal texture for a perfectly baked Lava Cake?** The edges should be set while the center remains soft and jiggly. When you cut into it, the molten chocolate should flow out effortlessly.
**Can I substitute flour for gluten-free options?** Absolutely! You can use a gluten-free flour blend as an alternative. Ensure to check that the proportions are correct according to the flour blend you choose.
**What’s the best way to store leftovers?** If you have leftovers, store them in the refrigerator in an airtight container. Reheat them gently in the microwave before serving, ensuring you do not cook them further. Explore other delightful recipes like this to complete your culinary adventures, such as healthy breakfast meals listed [here](https://flavorfork.store/healthy-breakfast-meals-2/). For more kitchen tools and resources, check out [this affiliate link](https://aliexpi.com/D4C).
Chocolate Lava Cakes
PREP
10 min
10 min
COOK
12 min
12 min
YIELD
4 cakes
4 cakes
INGREDIENTS
- 1/2 cup (115g) semi-sweet chocolate, chopped
- 1/2 cup (113g) unsalted butter
- 1/4 cup (50g) granulated sugar
- 2 large eggs
- 2 large egg yolks
- 1/4 cup (30g) all-purpose flour
- 1 tsp vanilla extract
- A pinch of salt
INSTRUCTIONS
- Preheat oven to 425°F (220°C). Grease and dust four ramekins with cocoa powder.
- In a bowl, melt chocolate and butter over a double boiler. Once melted, stir until smooth.
- Whisk eggs and sugar until thick and pale in a separate bowl.
- Combine melted chocolate mixture with the egg mixture. Stir gently until combined.
- Sift in flour and fold until just mixed.
- Divide the batter among the ramekins and place on a baking sheet. Bake for 12-14 minutes.
- Let cool for 1 minute, then run a knife around the edges and invert onto serving plates.
- Serve warm, topped with ice cream or whipped cream as desired.