Molten chocolate
Indulge in Molten Chocolate Cakes
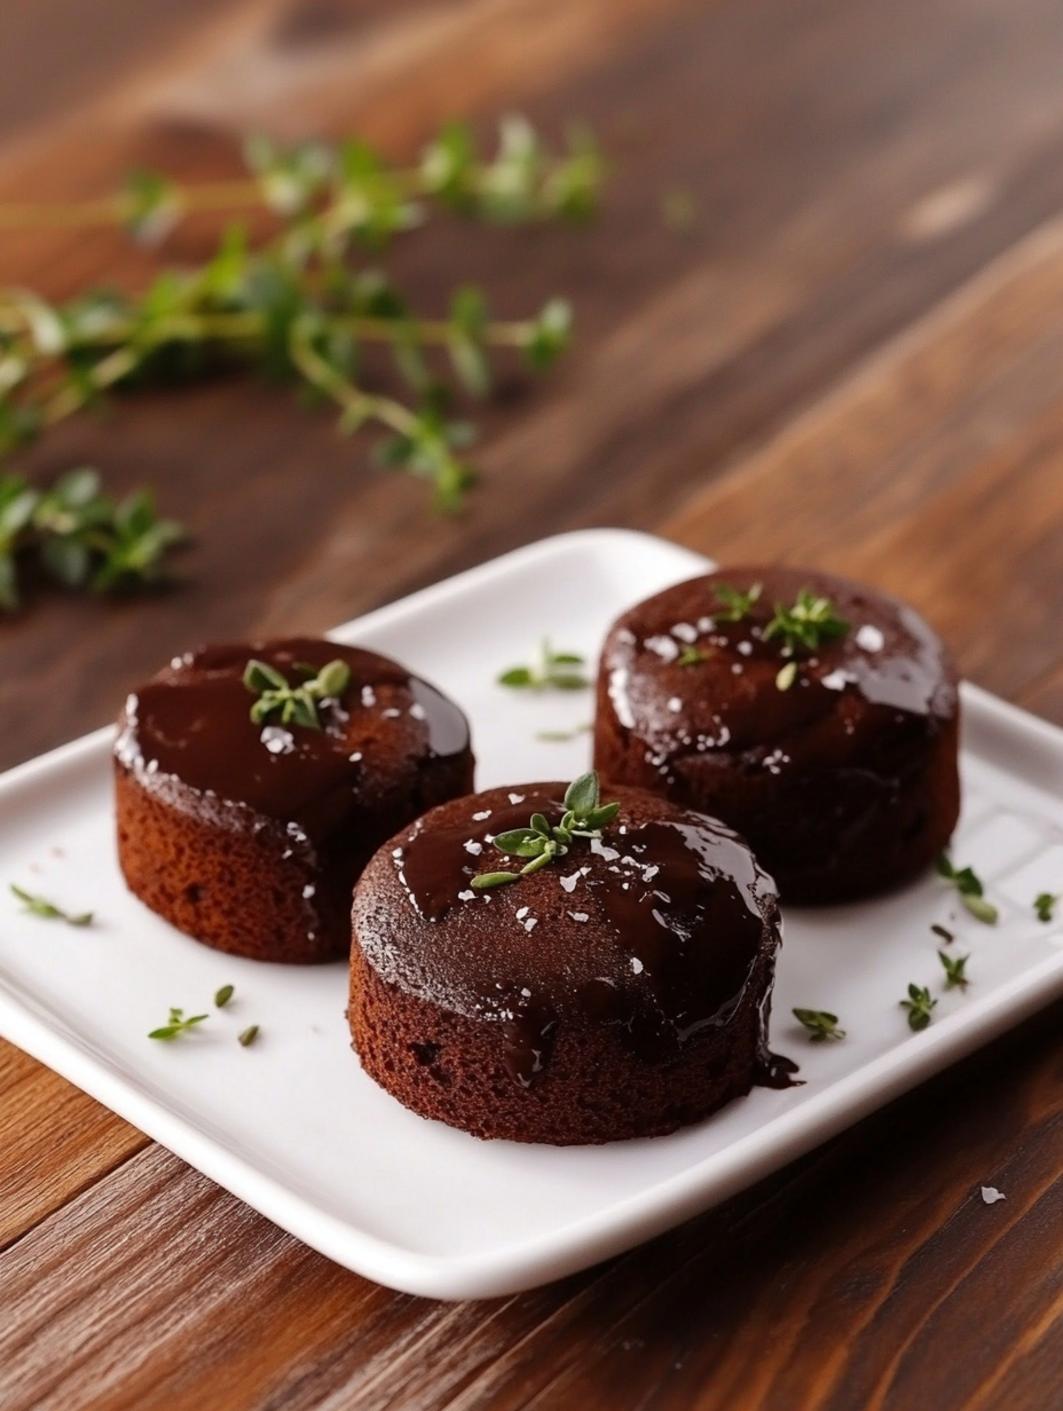
Molten chocolate cakes, often referred to as lava cakes, are the epitome of dessert luxury. With a delicate outer layer that gives way to a gooey, molten chocolate center, these little wonders are sure to impress your guests or elevate a quiet night in. Whether you’re celebrating a special occasion or simply indulging your sweet tooth, a molten chocolate cake is the perfect ending to any meal. Let’s dive deep into the world of this delightful treat and discover why it deserves a spot in your recipe repertoire.5 Reasons to Love Molten Chocolate Cakes
1. **Decadent Flavor**: The rich, velvety chocolate paired with a warm, flowing center transforms an ordinary dessert experience into something extravagant. Each bite offers a burst of flavor that is pure bliss.
2. **Effortlessly Elegant**: Despite their gourmet appearance, molten chocolate cakes are deceptively easy to make. This is the type of dessert that looks like it came straight from a fine-dining restaurant.
3. **Versatile Serving Options**: You can serve these cakes with a sprinkling of powdered sugar, a scoop of vanilla ice cream, or a drizzle of raspberry sauce. The possibilities are endless, allowing you to tailor the presentation and flavor profiles to your liking.
4. **Perfect for Any Occasion**: Whether it’s a romantic date night, a festive celebration, or simply a treat for yourself, molten chocolate cakes are a versatile dessert that fits any scenario.
5. **Quick to Prepare**: With minimal prep and cook time, molten chocolate cakes can be prepared even on a rushed evening, making them an ideal last-minute dessert option.
Ingredient Deep-Dive
To understand how to create the perfect molten chocolate cake, let’s examine the key ingredients that will help achieve that heavenly texture and flavor.– **Dark Chocolate**: Using high-quality dark chocolate contributes to the rich flavor. Look for chocolate with at least 60% cocoa for a great balance of sweetness and bitterness.
– **Unsalted Butter**: This adds a creamy texture and depth to the cake. Be sure to use unsalted butter so you can control the amount of salt in your recipe.
– **Eggs**: Both whole eggs and egg yolks play crucial roles. The whole eggs add structure while the egg yolks provide richness, allowing for that luscious molten center.
– **All-Purpose Flour**: Just a small amount of flour helps to set the cake without overshadowing the chocolate flavor. It’s essential for providing the right texture.
– **Sugar**: Granulated sugar sweetens the cake but should be balanced to enhance, rather than overpower, the chocolate taste.
– **Vanilla Extract**: A splash of pure vanilla extract can elevate the overall flavor profile. It complements the chocolate beautifully. This combination of ingredients is what makes molten chocolate cakes a standout dessert and keeps everyone coming back for more.
Step-by-Step: How to Make Molten Chocolate Cakes
Now that we’ve covered the key ingredients, let’s get into the step-by-step process for making these divine desserts:1. **Preheat the Oven**: Begin by preheating your oven to 425°F (220°C). This ensures that the cakes have the right environment to cook properly.
2. **Prepare the Ramekins**: Grease four ramekins with a bit of butter, then dust them with flour or cocoa powder. This prevents the cakes from sticking and allows for a smooth release.
3. **Melt Chocolate and Butter**: In a heatproof bowl, combine the chopped dark chocolate and butter. Melt them together gently in the microwave or over a double boiler, stirring until smooth.
4. **Mix Eggs and Sugar**: In a separate bowl, whisk together the whole eggs, egg yolks, and granulated sugar until thick and pale. This aeration helps create a lighter cake.
5. **Combine Mixtures**: Gradually fold the melted chocolate mixture into the egg mixture. Be careful not to deflate the eggs; gentle folding is key.
6. **Add Flour and Vanilla**: Sift the all-purpose flour and gently fold it into the chocolate mixture. Finally, add the vanilla extract, mixing just until combined.
7. **Pour into Ramekins**: Evenly distribute the batter into the prepared ramekins, filling them about two-thirds full.
8. **Bake**: Place the ramekins in the preheated oven and bake for 12-14 minutes. The edges should be firm, while the center remains slightly jiggly.
9. **Cool Slightly**: Remove the cakes from the oven and let them cool for 1-2 minutes before inverting them onto plates.
10. **Serve Immediately**: For the best experience, serve the molten chocolate cakes warm, and enjoy the delightful flow of chocolate as you cut into them.
Pro Tips for Perfect Molten Chocolate Cakes
To ensure your molten chocolate cakes are perfect every time, consider these pro tips:– **Quality Ingredients Matter**: Invest in high-quality chocolate and butter. The flavor of your cake will be a direct reflection of your ingredients.
– **Don’t Overbake**: The key to a molten center is careful monitoring of baking time. Underbake slightly to achieve that gooey texture.
– ** ramekin Size**: Use the right-sized ramekins. Smaller ones may bake faster and ensure a gooey center while larger ones may require a few extra minutes.
– **Experiment with Add-ins**: Consider adding a hint of espresso powder or a splash of orange liqueur to elevate the chocolate flavor even further.
– **Make-Ahead Option**: You can prepare the batter ahead of time and refrigerate it. Just bake the cakes right before serving for a warm, fresh treat.
Common Mistakes to Avoid
To achieve molten chocolate cake perfection, be wary of these common mistakes:– **Overmixing the Batter**: Overmixing can lead to denser cakes. Fold your ingredients gently until just combined.
– **Using the Wrong Chocolate**: Avoid chocolate chips; they contain stabilizers that prevent the proper melting we seek for that luscious center.
– **Wrong Oven Temperature**: Make sure your oven is accurate. Consider using an oven thermometer to ensure the right baking environment.
– **Skipping the Grease**: Never skip greasing and flouring the ramekins. This can result in cakes that won’t release properly.
– **Not Letting Them Rest**: Allow the cakes to rest in the ramekins for a moment. This will make them easier to remove without destroying their appearance.
FAQs About Molten Chocolate Cakes
**Can I make molten chocolate cakes in advance?** Yes, you can prepare the batter a day ahead and store it in the refrigerator. Just bake them fresh when you’re ready to serve.
**What size ramekins should I use?** Typically, 6-ounce ramekins will yield the ideal portion size, but you can use smaller ramekins for a lighter dessert.
**How do I know when they are done baking?** Look for the edges that are set and a soft wobbly center. If the center looks very shaky, it may need a minute more.
**Can I use milk chocolate instead of dark chocolate?** You can, but the resultant flavor will be much sweeter and less intense. Dark chocolate is recommended for the best experience.
**What if I don’t have ramekins?** You can use muffin tins sprayed with non-stick cooking spray. Just adjust the cooking time slightly. With this comprehensive guide, you are now equipped with all the knowledge needed to create the most luscious molten chocolate cakes. Enjoy every rich, gooey bite, and don’t forget to share this recipe with fellow dessert lovers!
Molten Chocolate Cakes
PREP
15 minutes
15 minutes
COOK
12 minutes
12 minutes
YIELD
4 cakes
4 cakes
INGREDIENTS
- 4 oz dark chocolate (at least 60% cacao), chopped
- 1/2 cup unsalted butter
- 2 whole eggs
- 2 egg yolks
- 1/2 cup granulated sugar
- 1/4 cup all-purpose flour
- 1 tsp vanilla extract
INSTRUCTIONS
- Preheat the oven to 425°F (220°C).
- Grease four 6-ounce ramekins with butter and dust with flour or cocoa powder.
- Melt the dark chocolate and butter together in a heatproof bowl until smooth.
- In a separate bowl, whisk the eggs and sugar until thick and pale.
- Gently fold the melted chocolate into the egg mixture.
- Carefully fold in the flour and vanilla extract until just combined.
- Pour the batter into the prepared ramekins, filling them two-thirds full.
- Bake for 12-14 minutes, until the edges are firm and the center is slightly jiggly.
- Let cool for 1-2 minutes before inverting onto plates.
- Serve immediately with your choice of toppings.